
I wanted to add a custom touch to the powerwagon rebuild. I always liked the mopar musclecars with the blacked out hoods like the A12 roadrunners and superbees. I had some leftover Dupont Chroma base black from a previous project,So I used it to paint a spare truck hood I had laying around and bought some 440 decals from Phoenix Graphics. These were originally used on a 1970 Charger.

The first step of course is clean the hood.Even though the hood was painted two days ago it was already covered in sanding dust. I used PPG DX330 wax and grease remover to clean the area of application.

Application gel is used to temporarily deaden the adhesive so the decal can be moved.
The low-tech alternative is soapy water,It'll do the same thing

After glopping on some application gel I pulled the wax backing from the decal exposing the adhesive.After some careful measuring I laid down the decal.....no turning back now.

Using the supplied squeegee I started to work the gel toward the edges and trying to get out all the air bubbles.

After working out the bubbles I waited an hour to remove the premask decal.It's best to pull gently at an angle.There was still some air bubbles that I worked out with the squeegee.
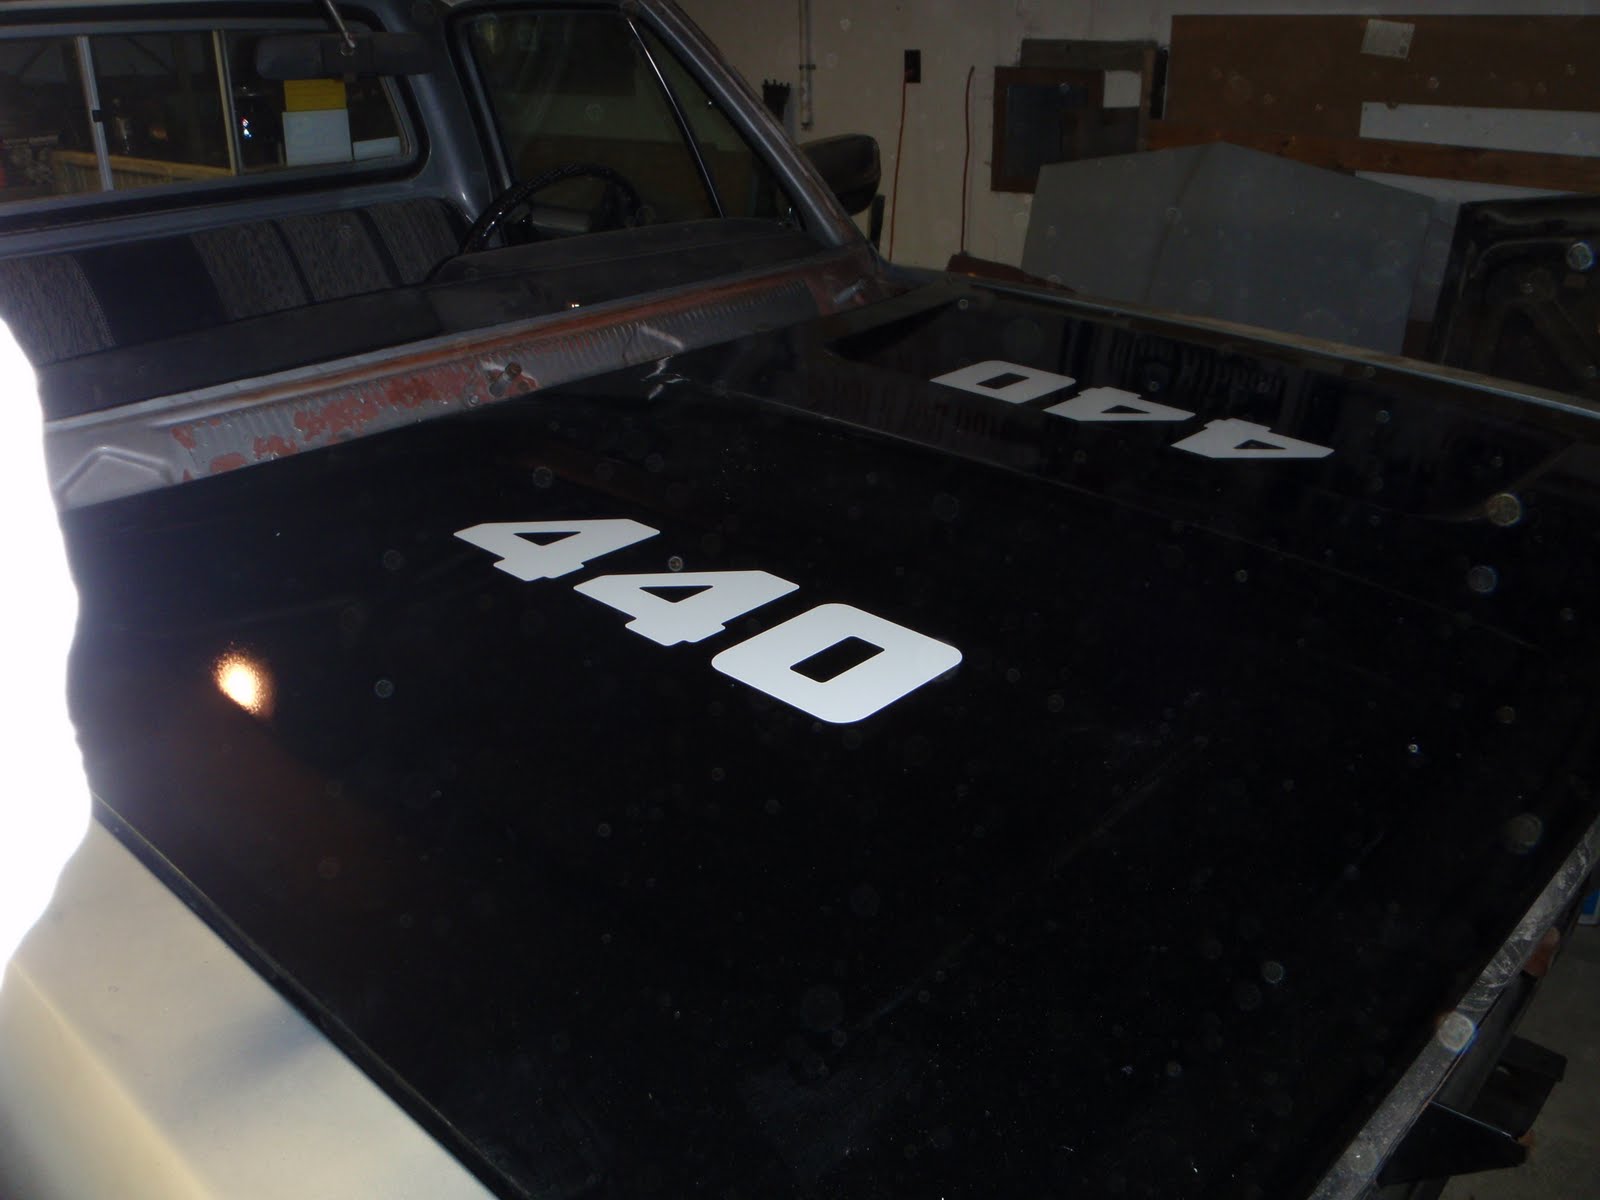
There ya go! '70 charger decals on a '76 dodge powerwagon.

No comments:
Post a Comment